Woo! I’m here at STAPLE! in Austin! I got some new zines and can’t wait to see y’all!
Woo! I’m here at STAPLE! in Austin! I got some new zines and can’t wait to see y’all!
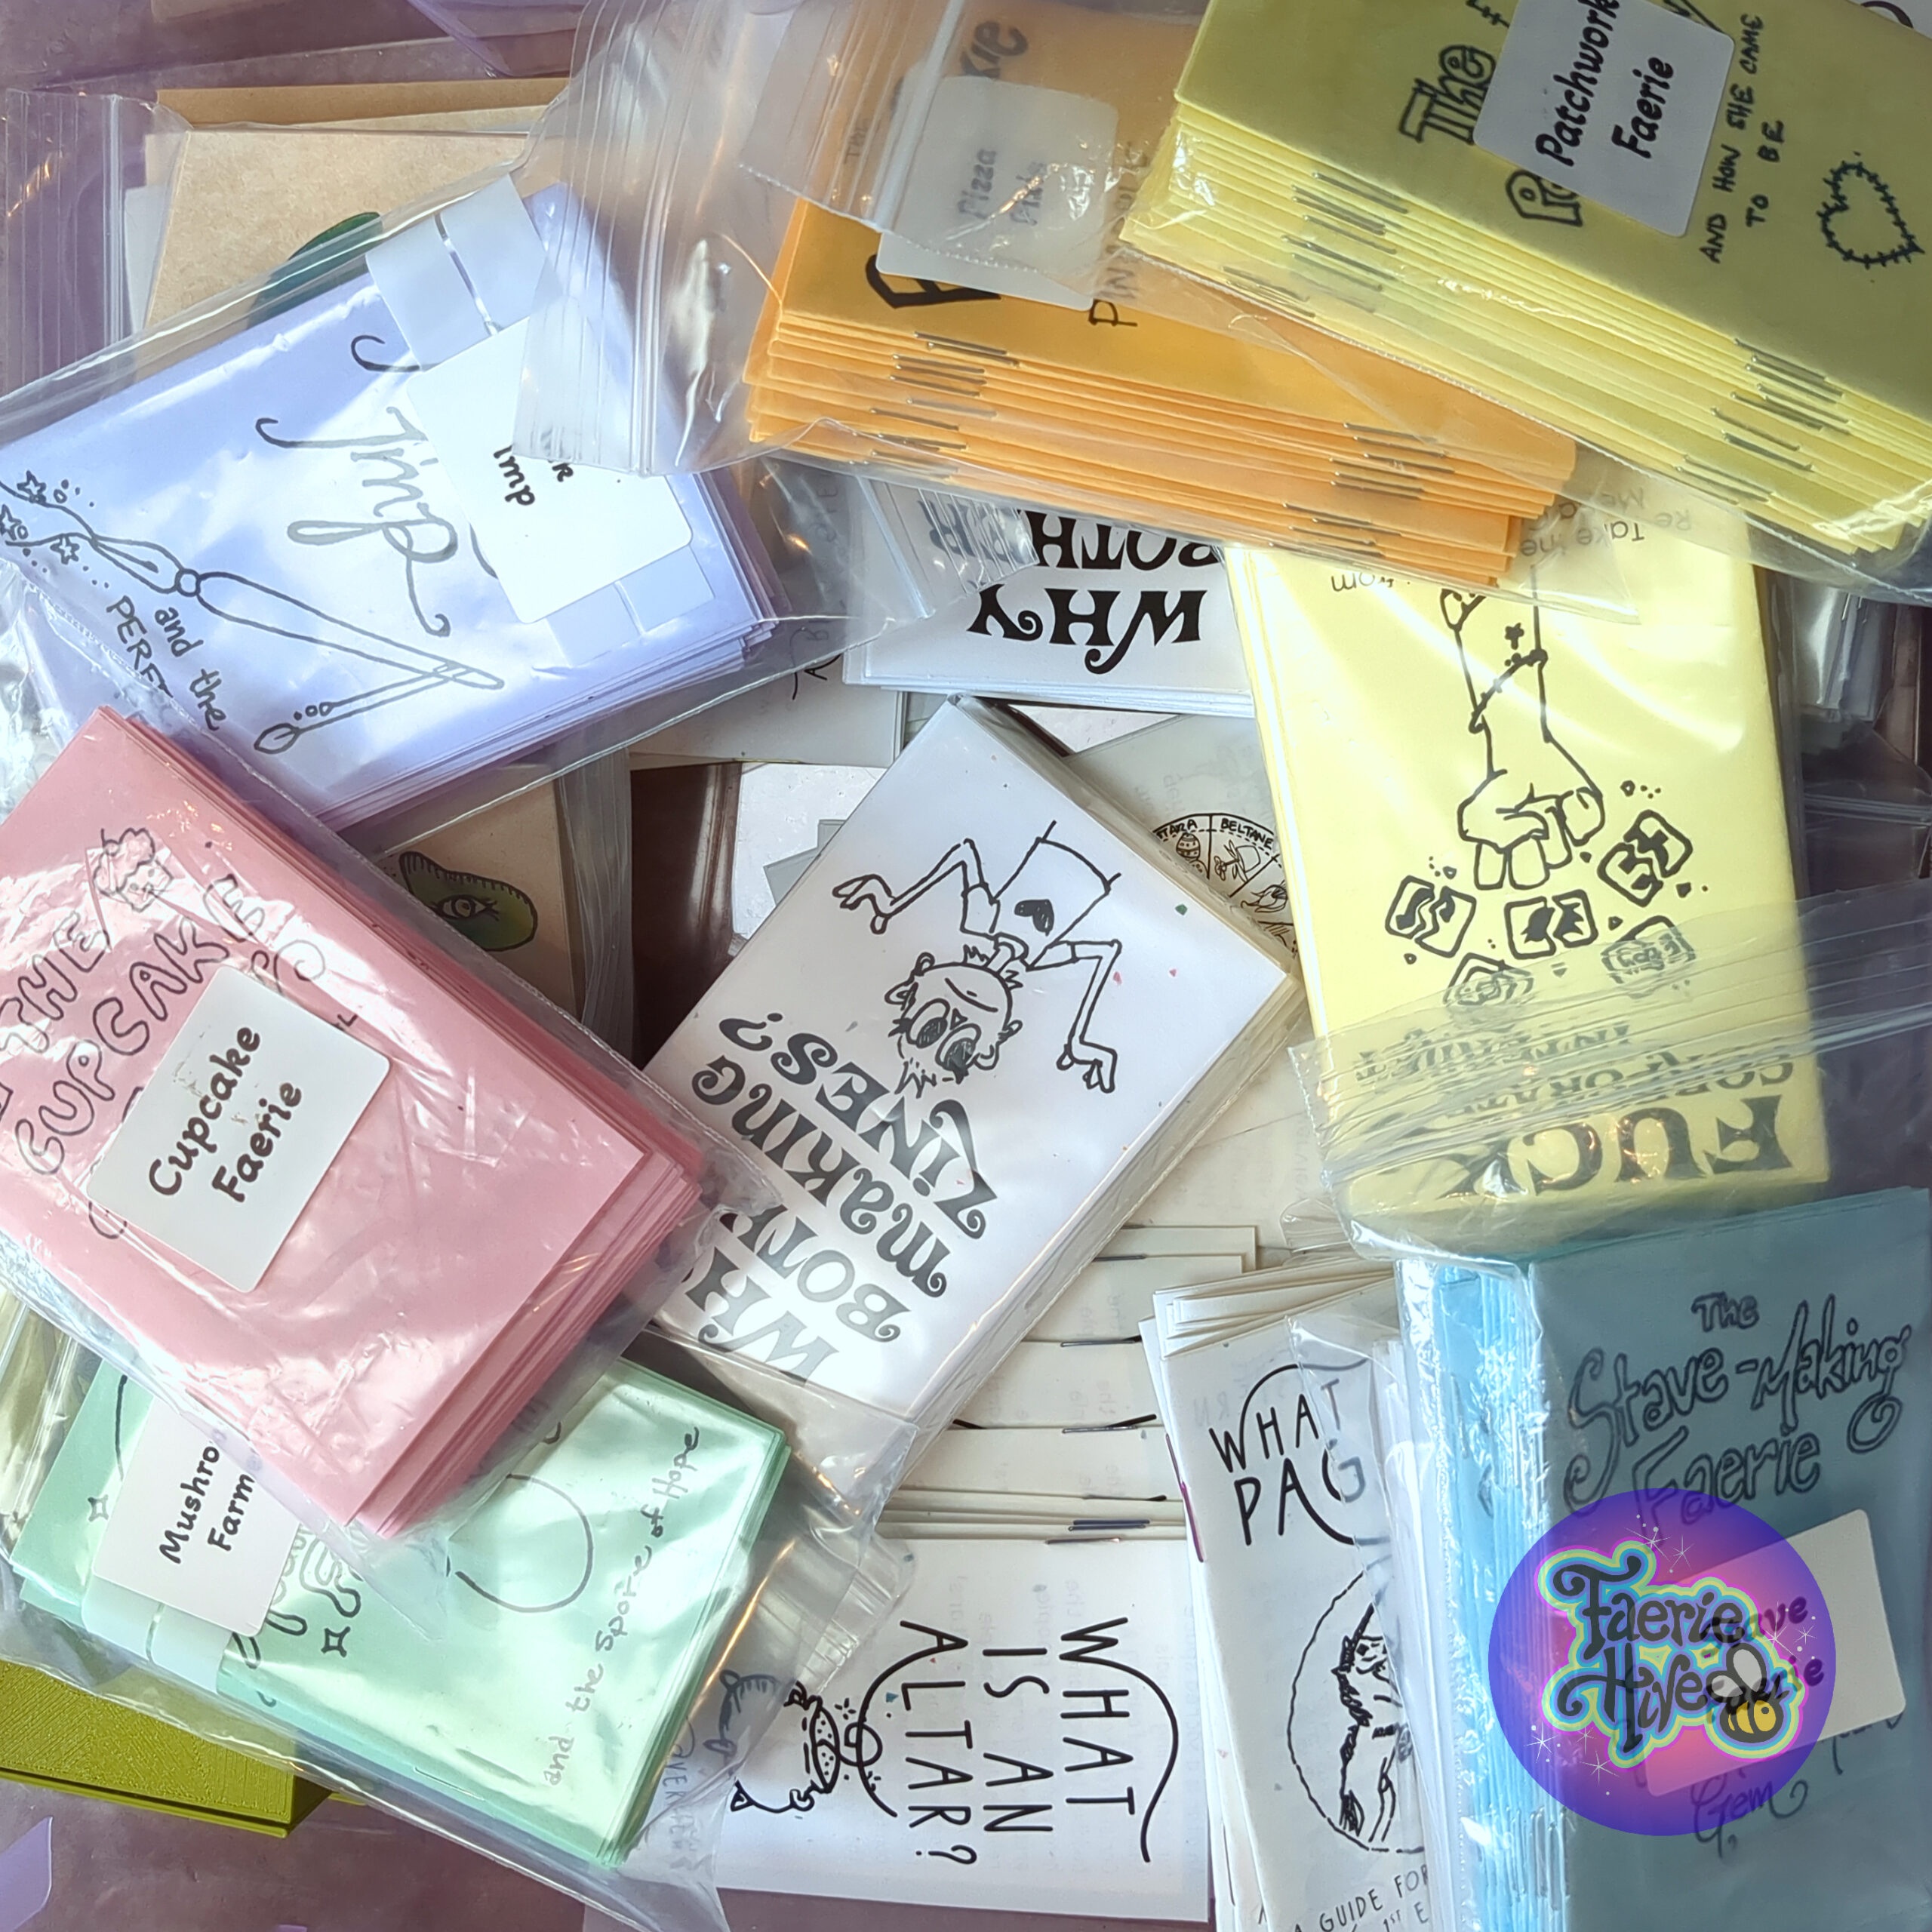
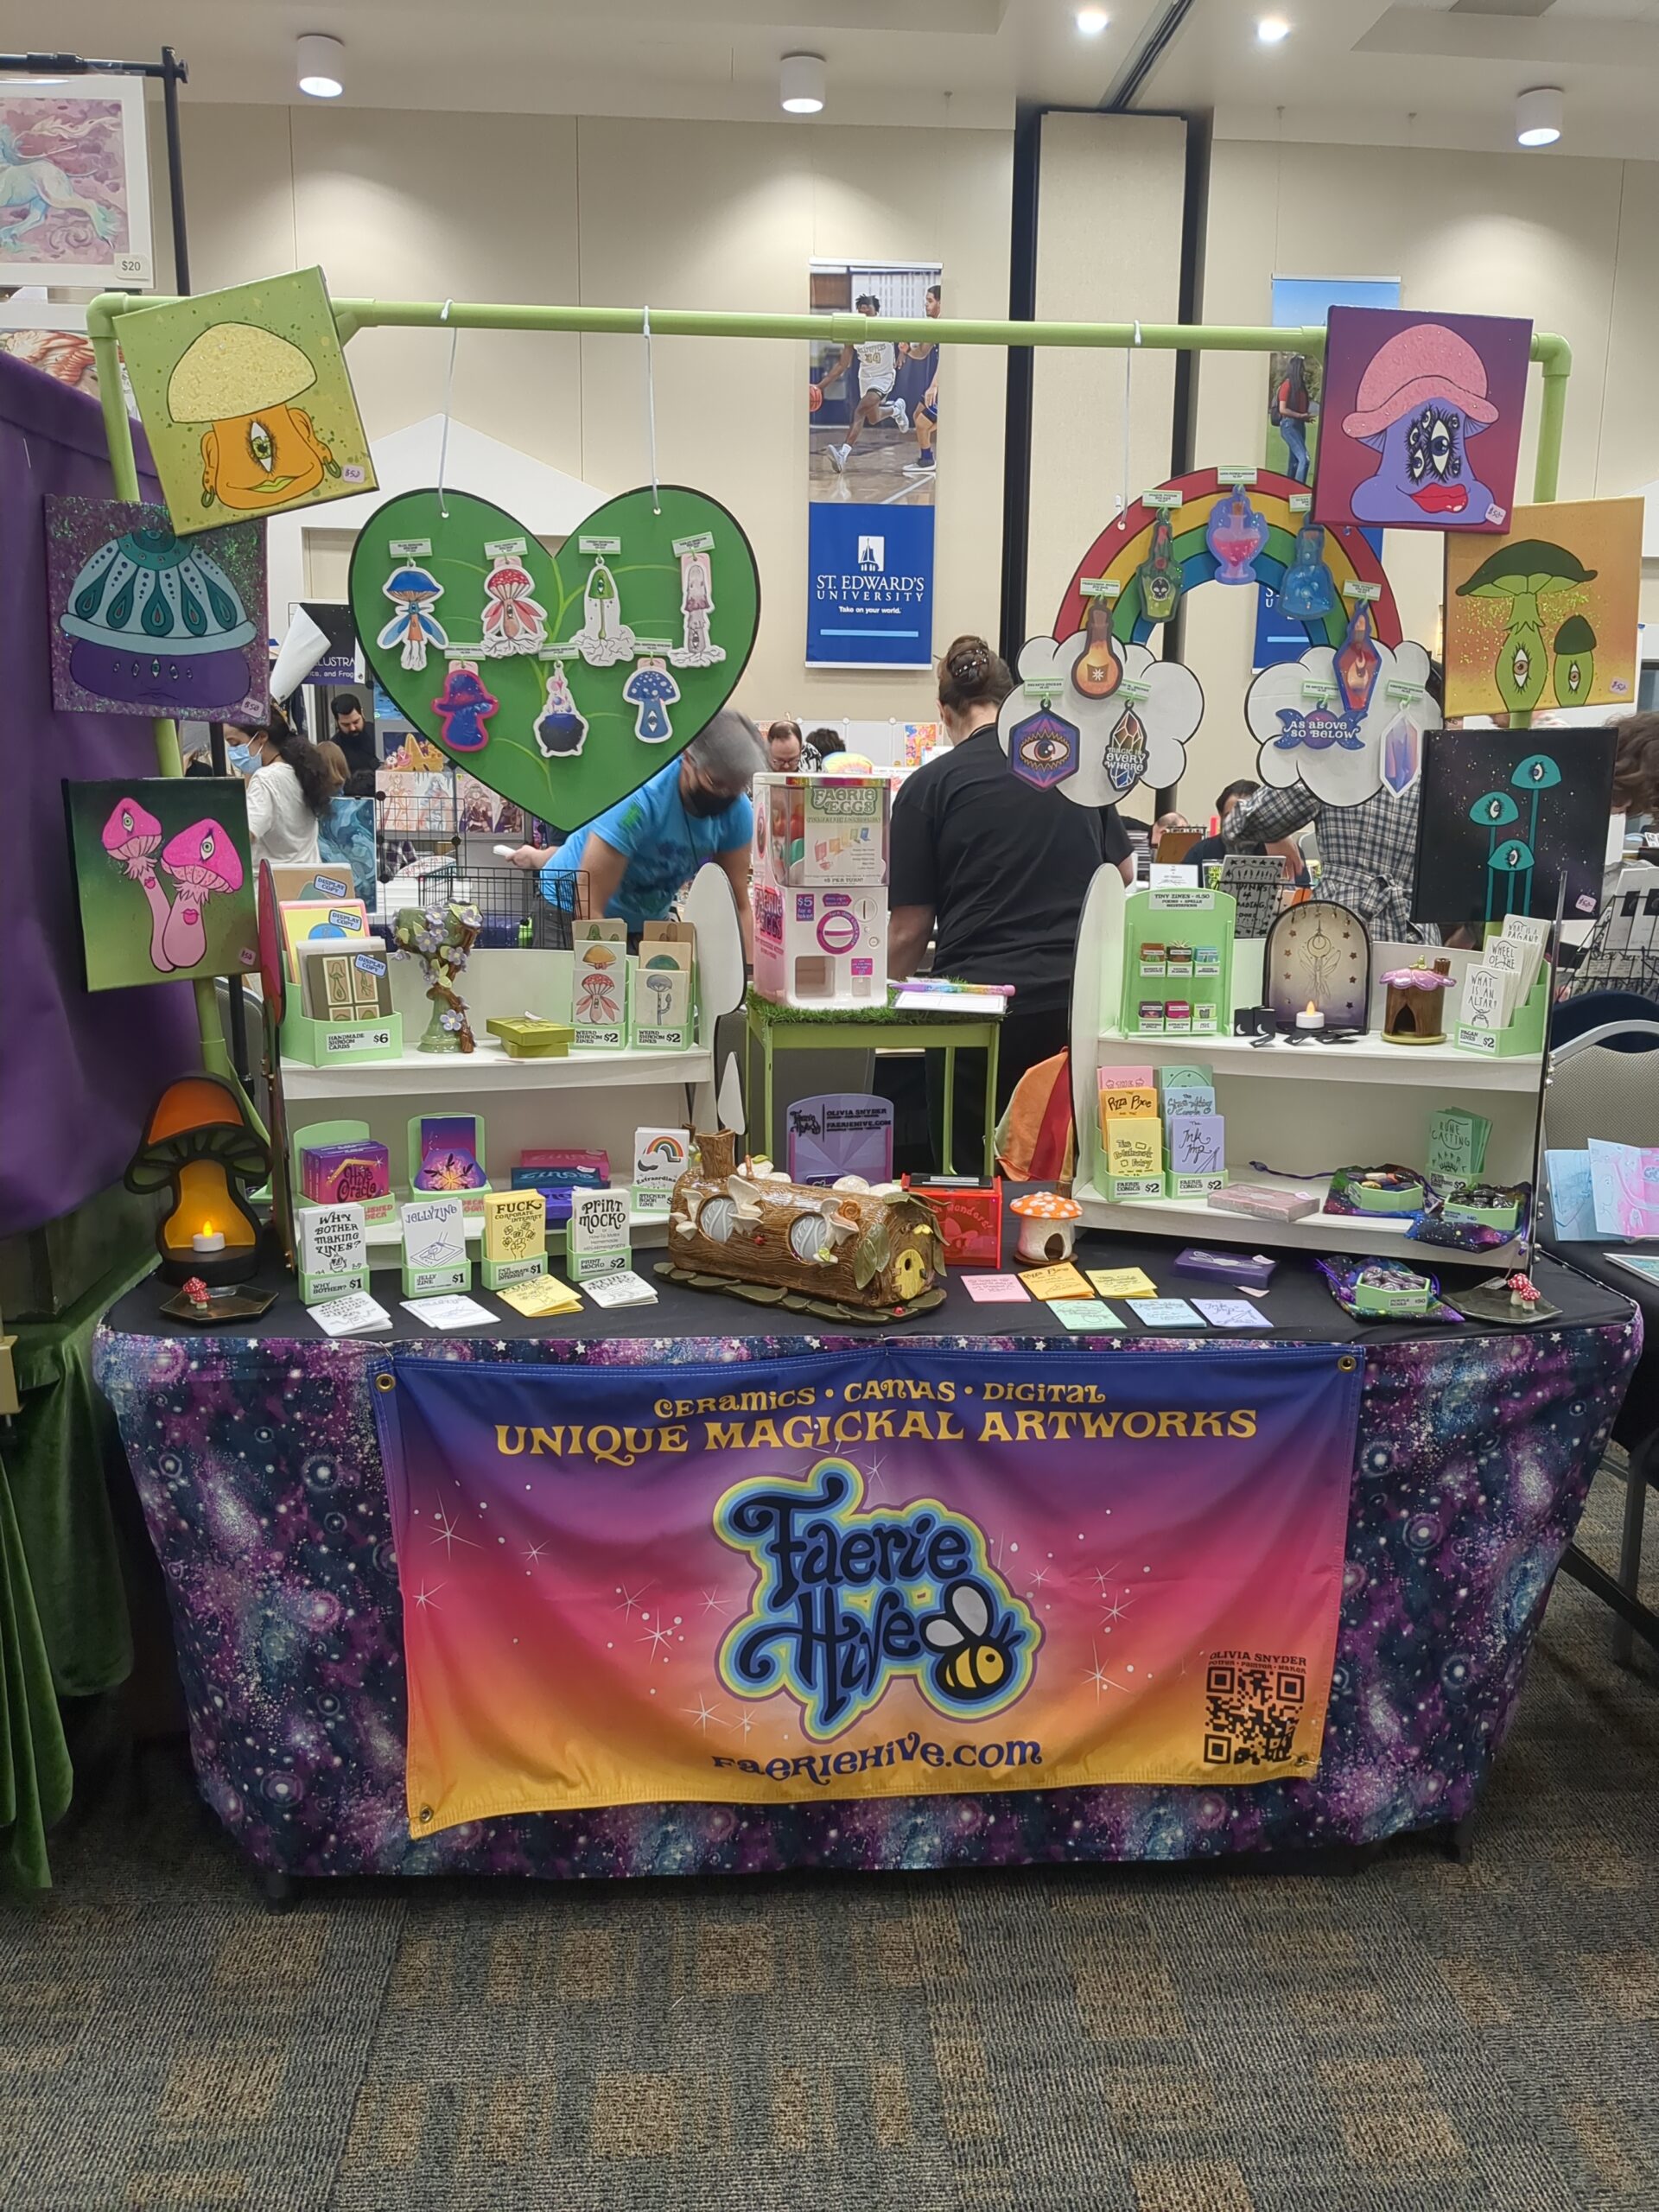
Pretty sure I folded enough paper to wear my fingerprints off with all the zines I’ve got ready for STAPLE! Austin. I’ve got some new comic zines, new educational zines, and some new zine bundles with cute lil’ storage cases. As always, everything is made by me in my Plano, Texas studio. I can’t wait to see you this weekend on April 12 and 13th!

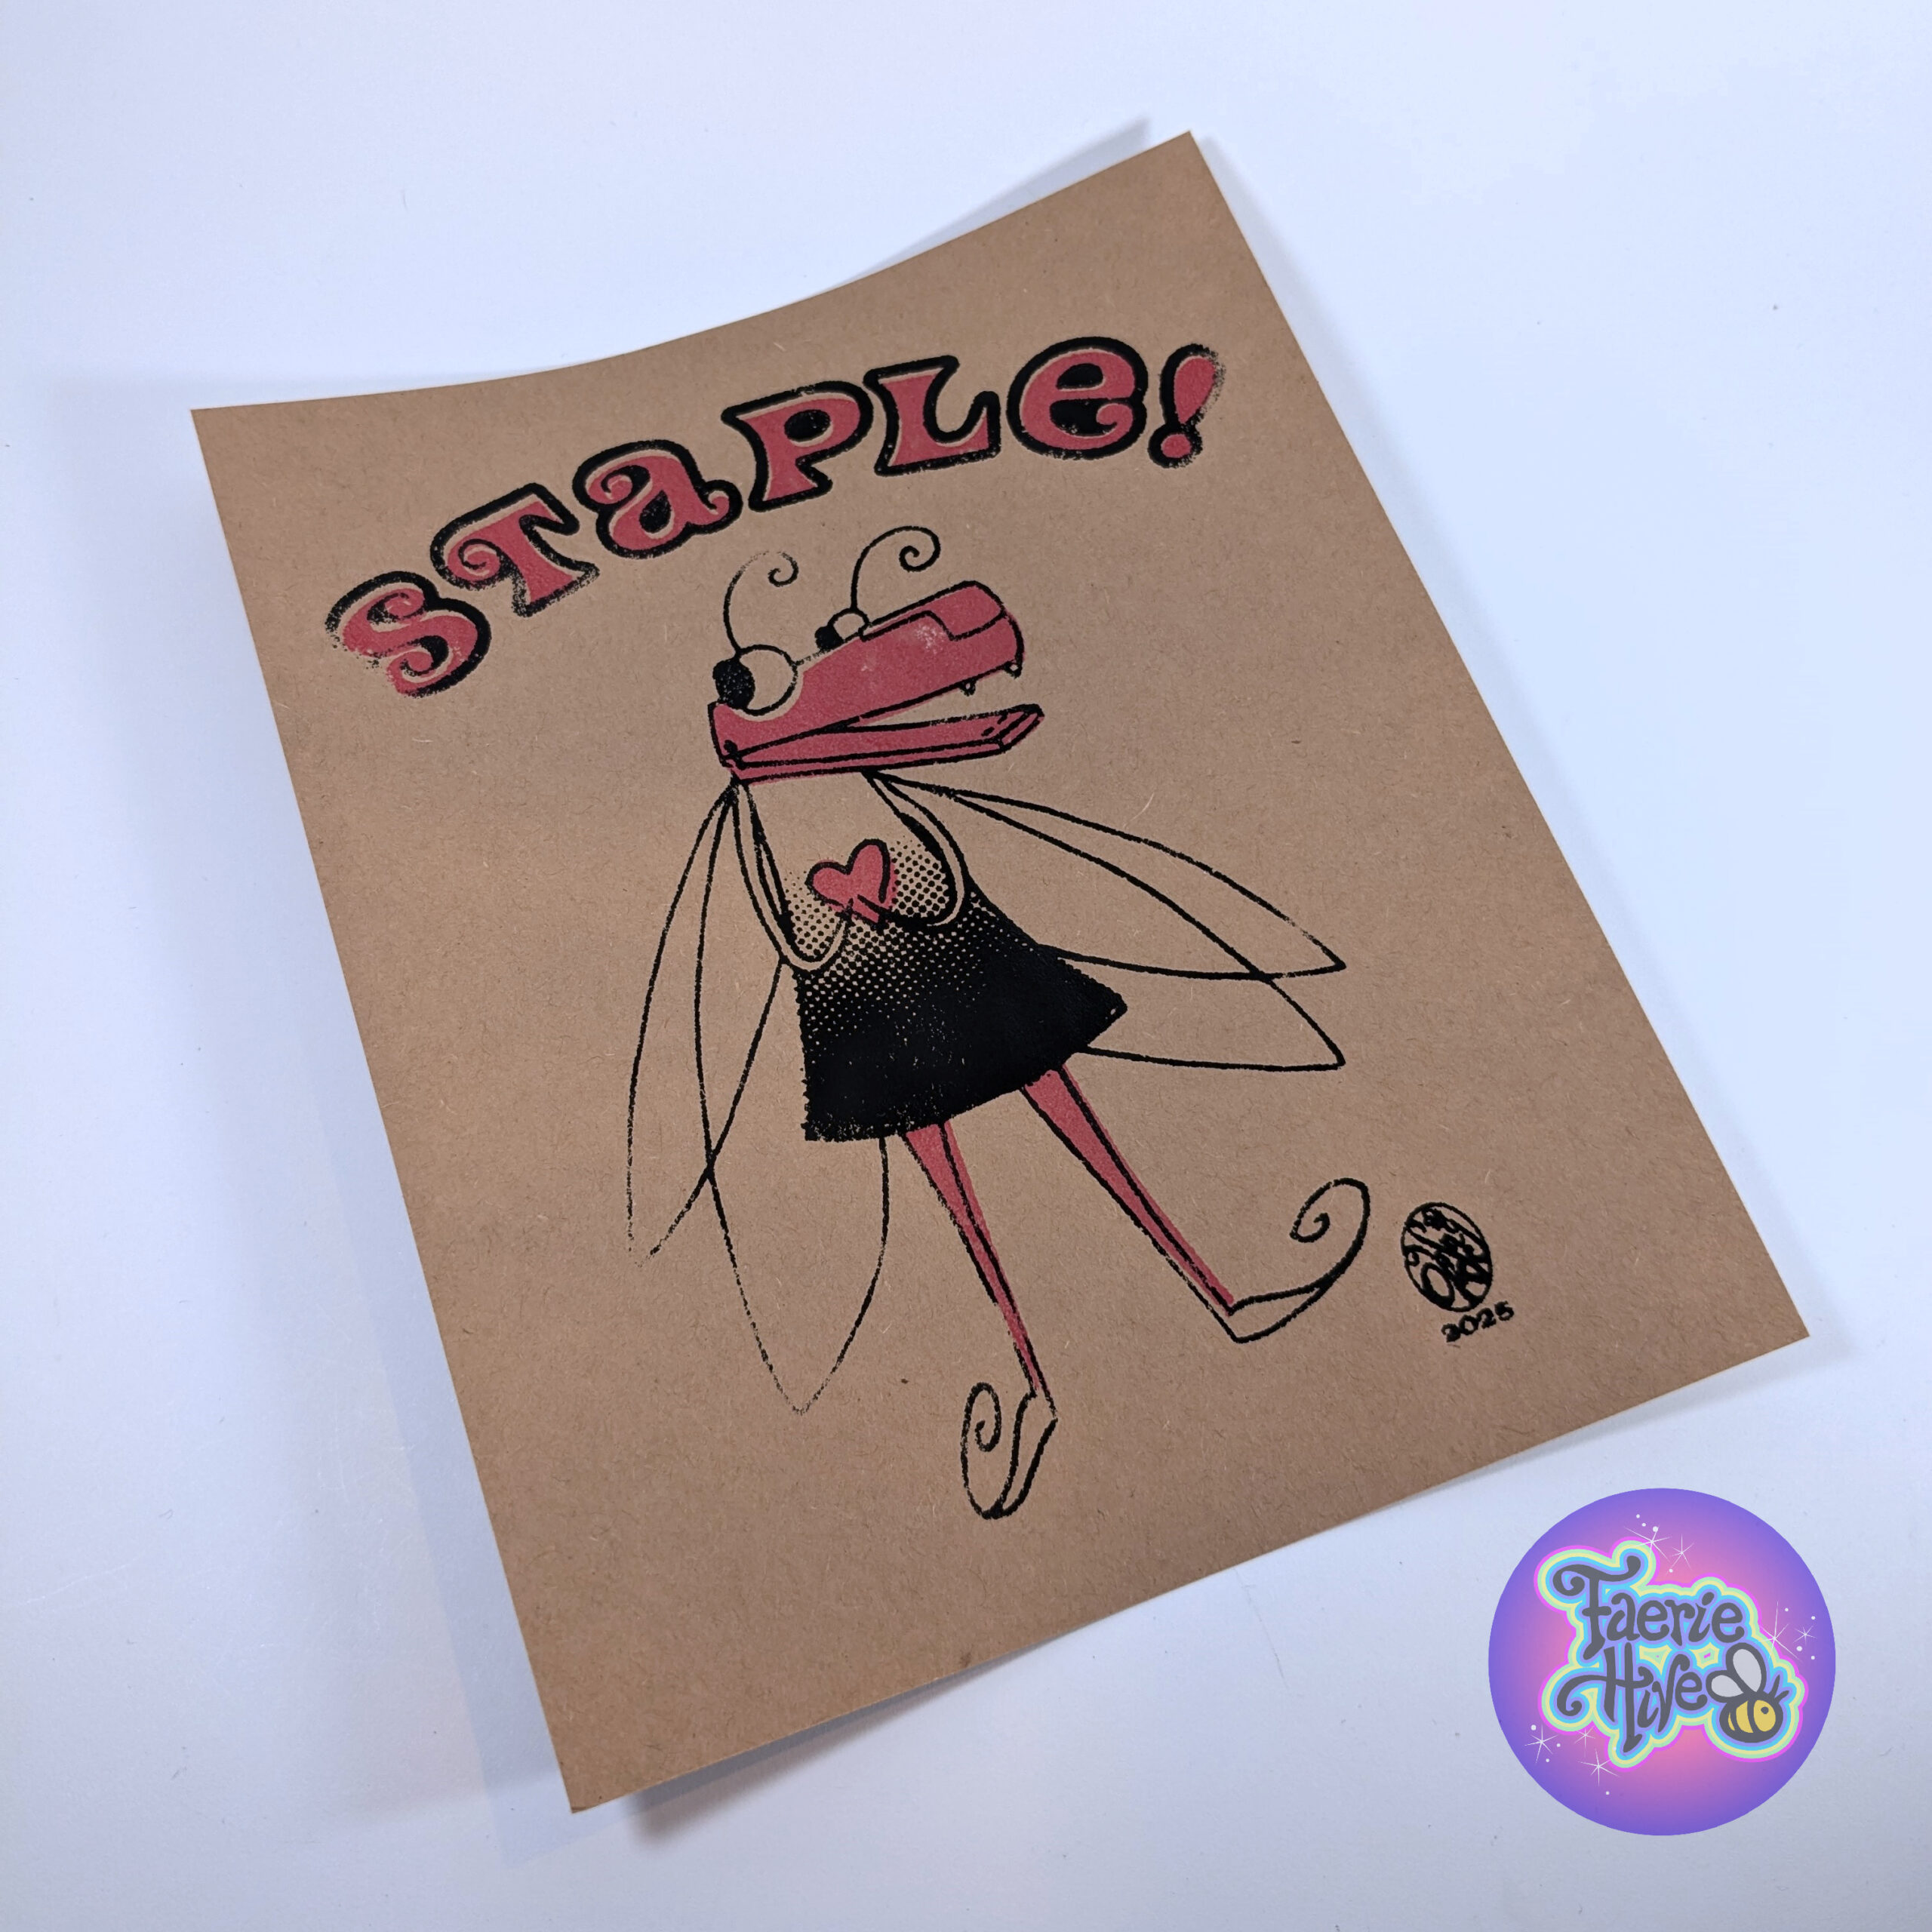
Eeeek! Only a few precious weeks before STAPLE! Austin! In case you missed it, I made a new Staplegator this year, complete with a video showing how I make prints using a fax machine. In the meanwhile, my bone folder and fingers are wearing down with all the extra zine folding I’m doing. 😭
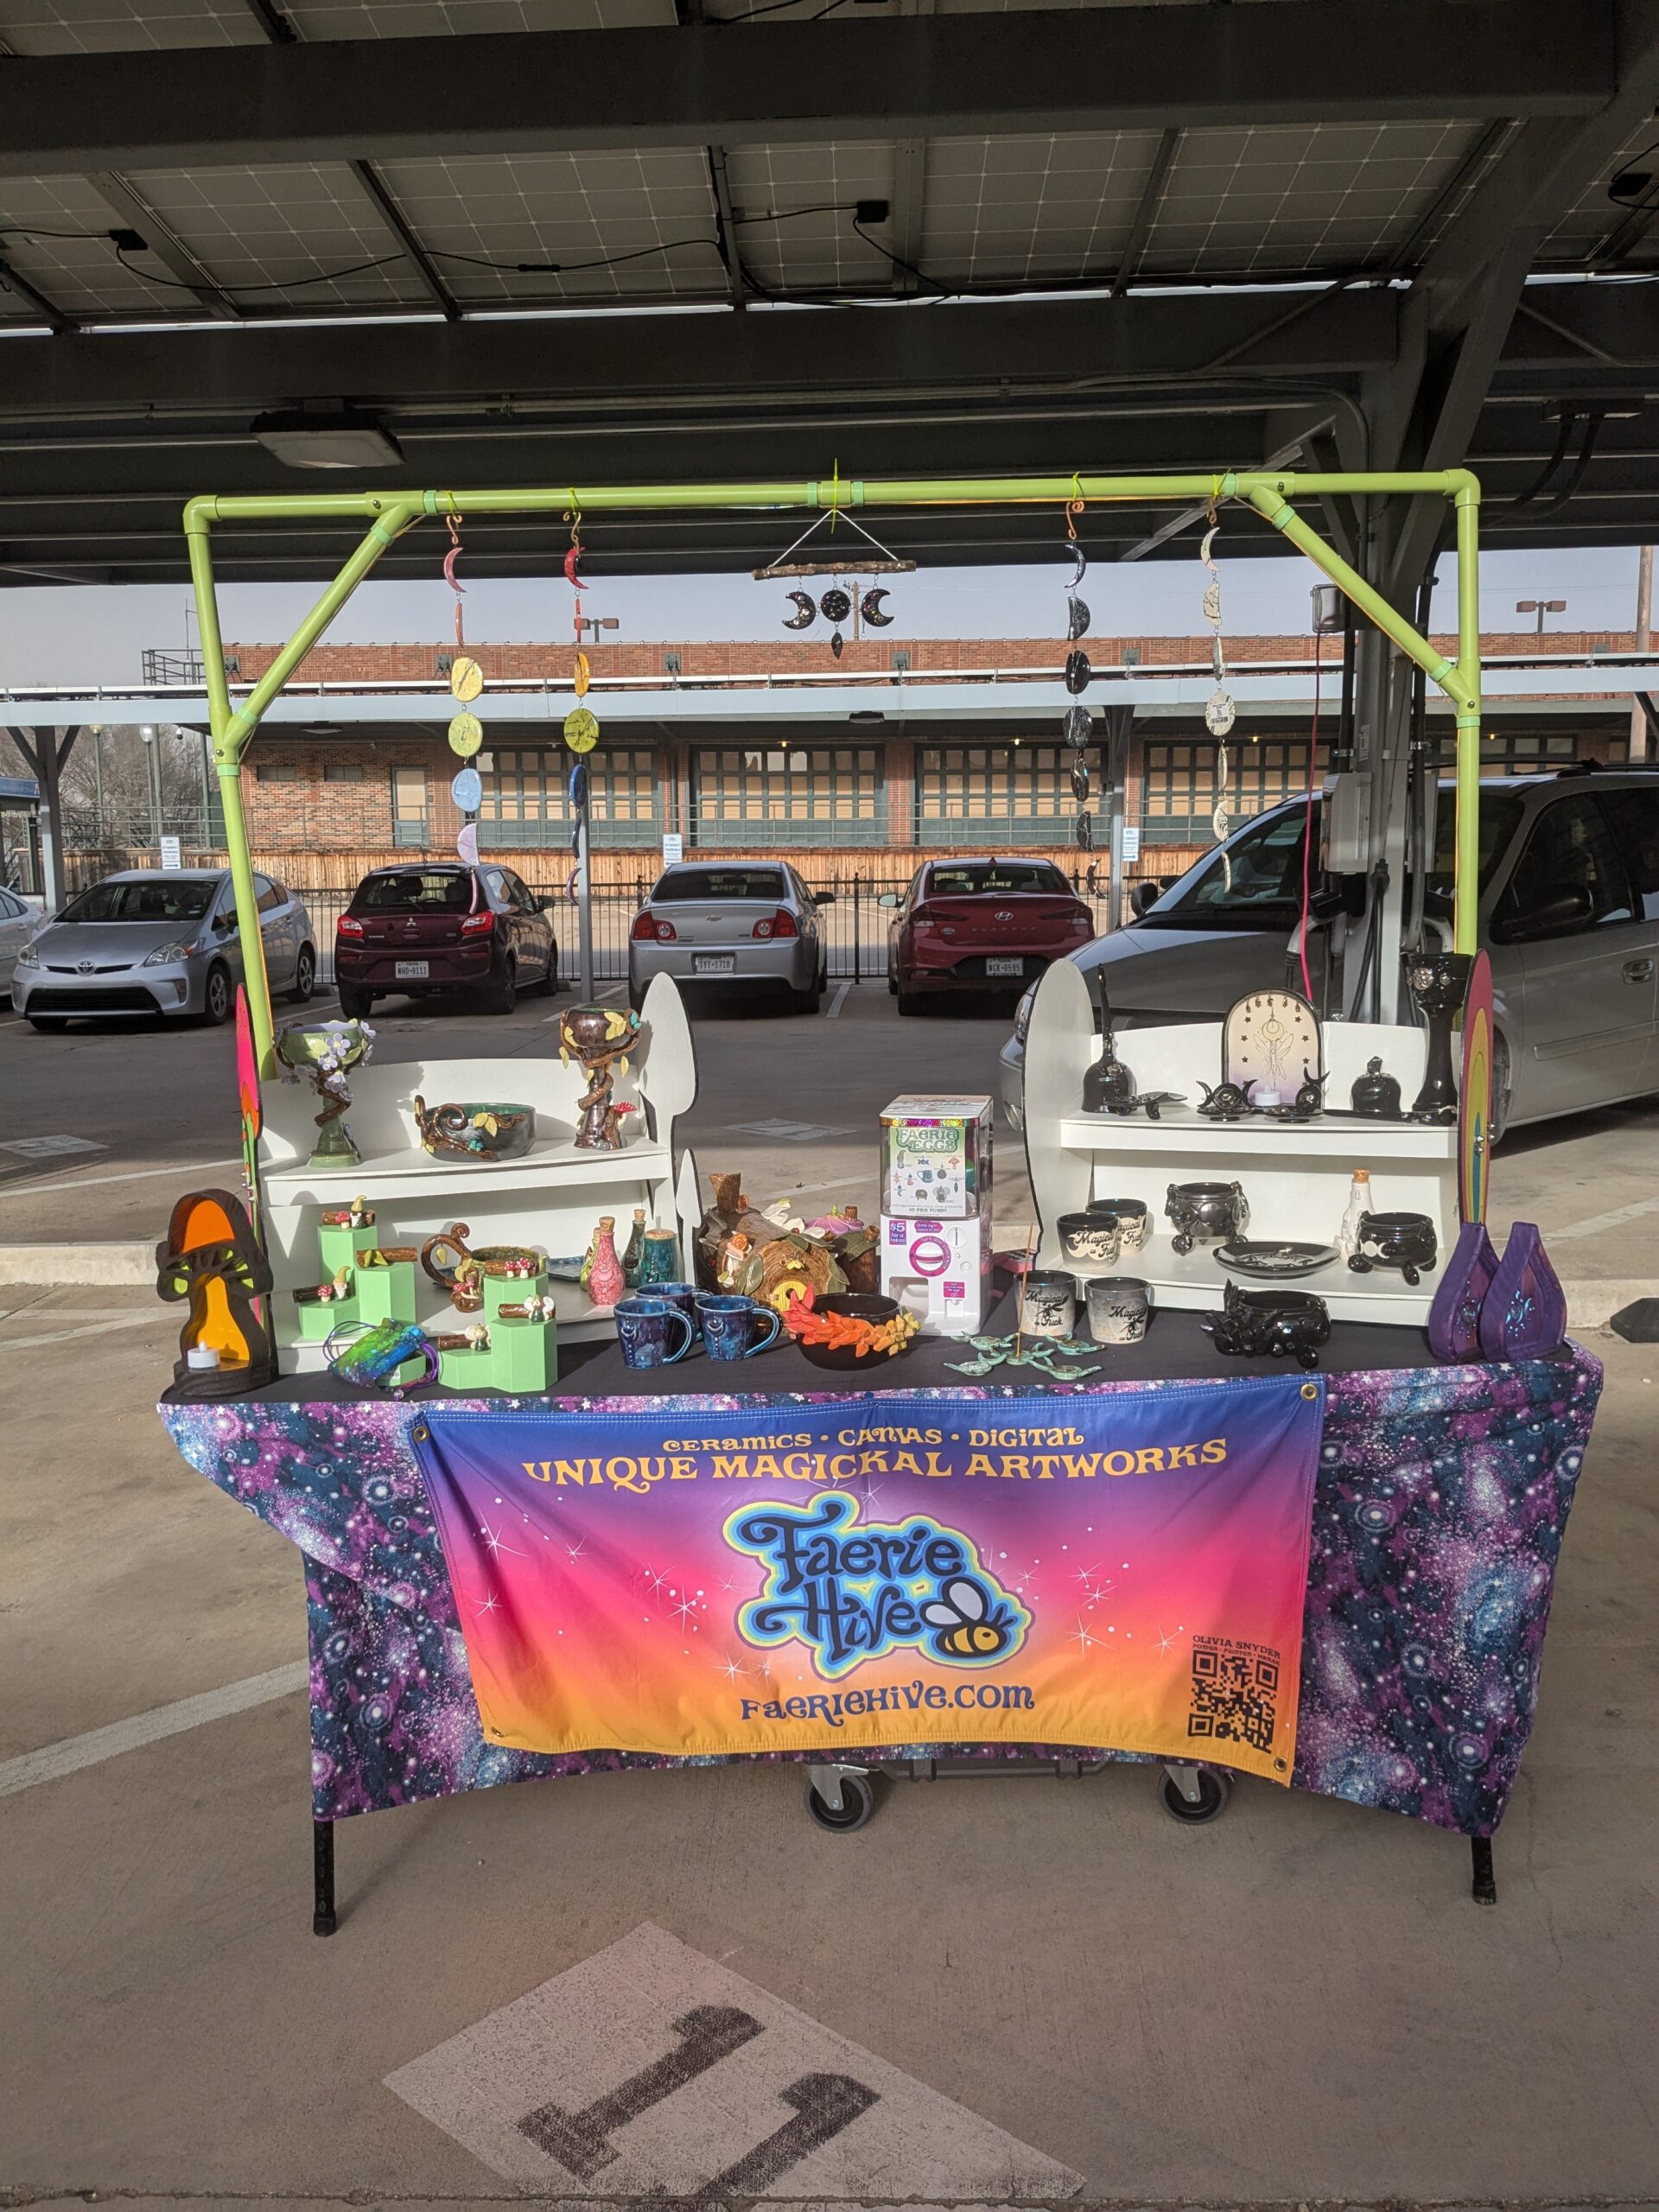
Yoooo! I’m out here are Acre Distillery in Downtown Fort Worth for Coven Night Out! A prelude to the Witches’ Ball in May, the weather this evening is gorgeous. Join me from 7pm to 1am this March 14th and stock up on magickal pottery!

Hooray! I’ve been hiding out like a lil’ underground gnome, doing maker stuff. But fear not! I’ve got a nice Spring lineup of events coming, one of which is STAPLE! The Independent Media Expo in Austin! Ask my fellow makers, I’ve been folding zines in preparation like a madman. But I took a break to draw a STAPLEGATOR and do a tiny print run! Check out my first video of the year, wherein I go over how I did a quick ‘n’ cute faux-mimeograph print in two colors.
Do you like outdated printing methods for fun and profit? I have more videos on my YouTube channel and more zines on my shop.


I should mention that the Mimeogator print will be available for purchase at STAPLE! Austin this April!
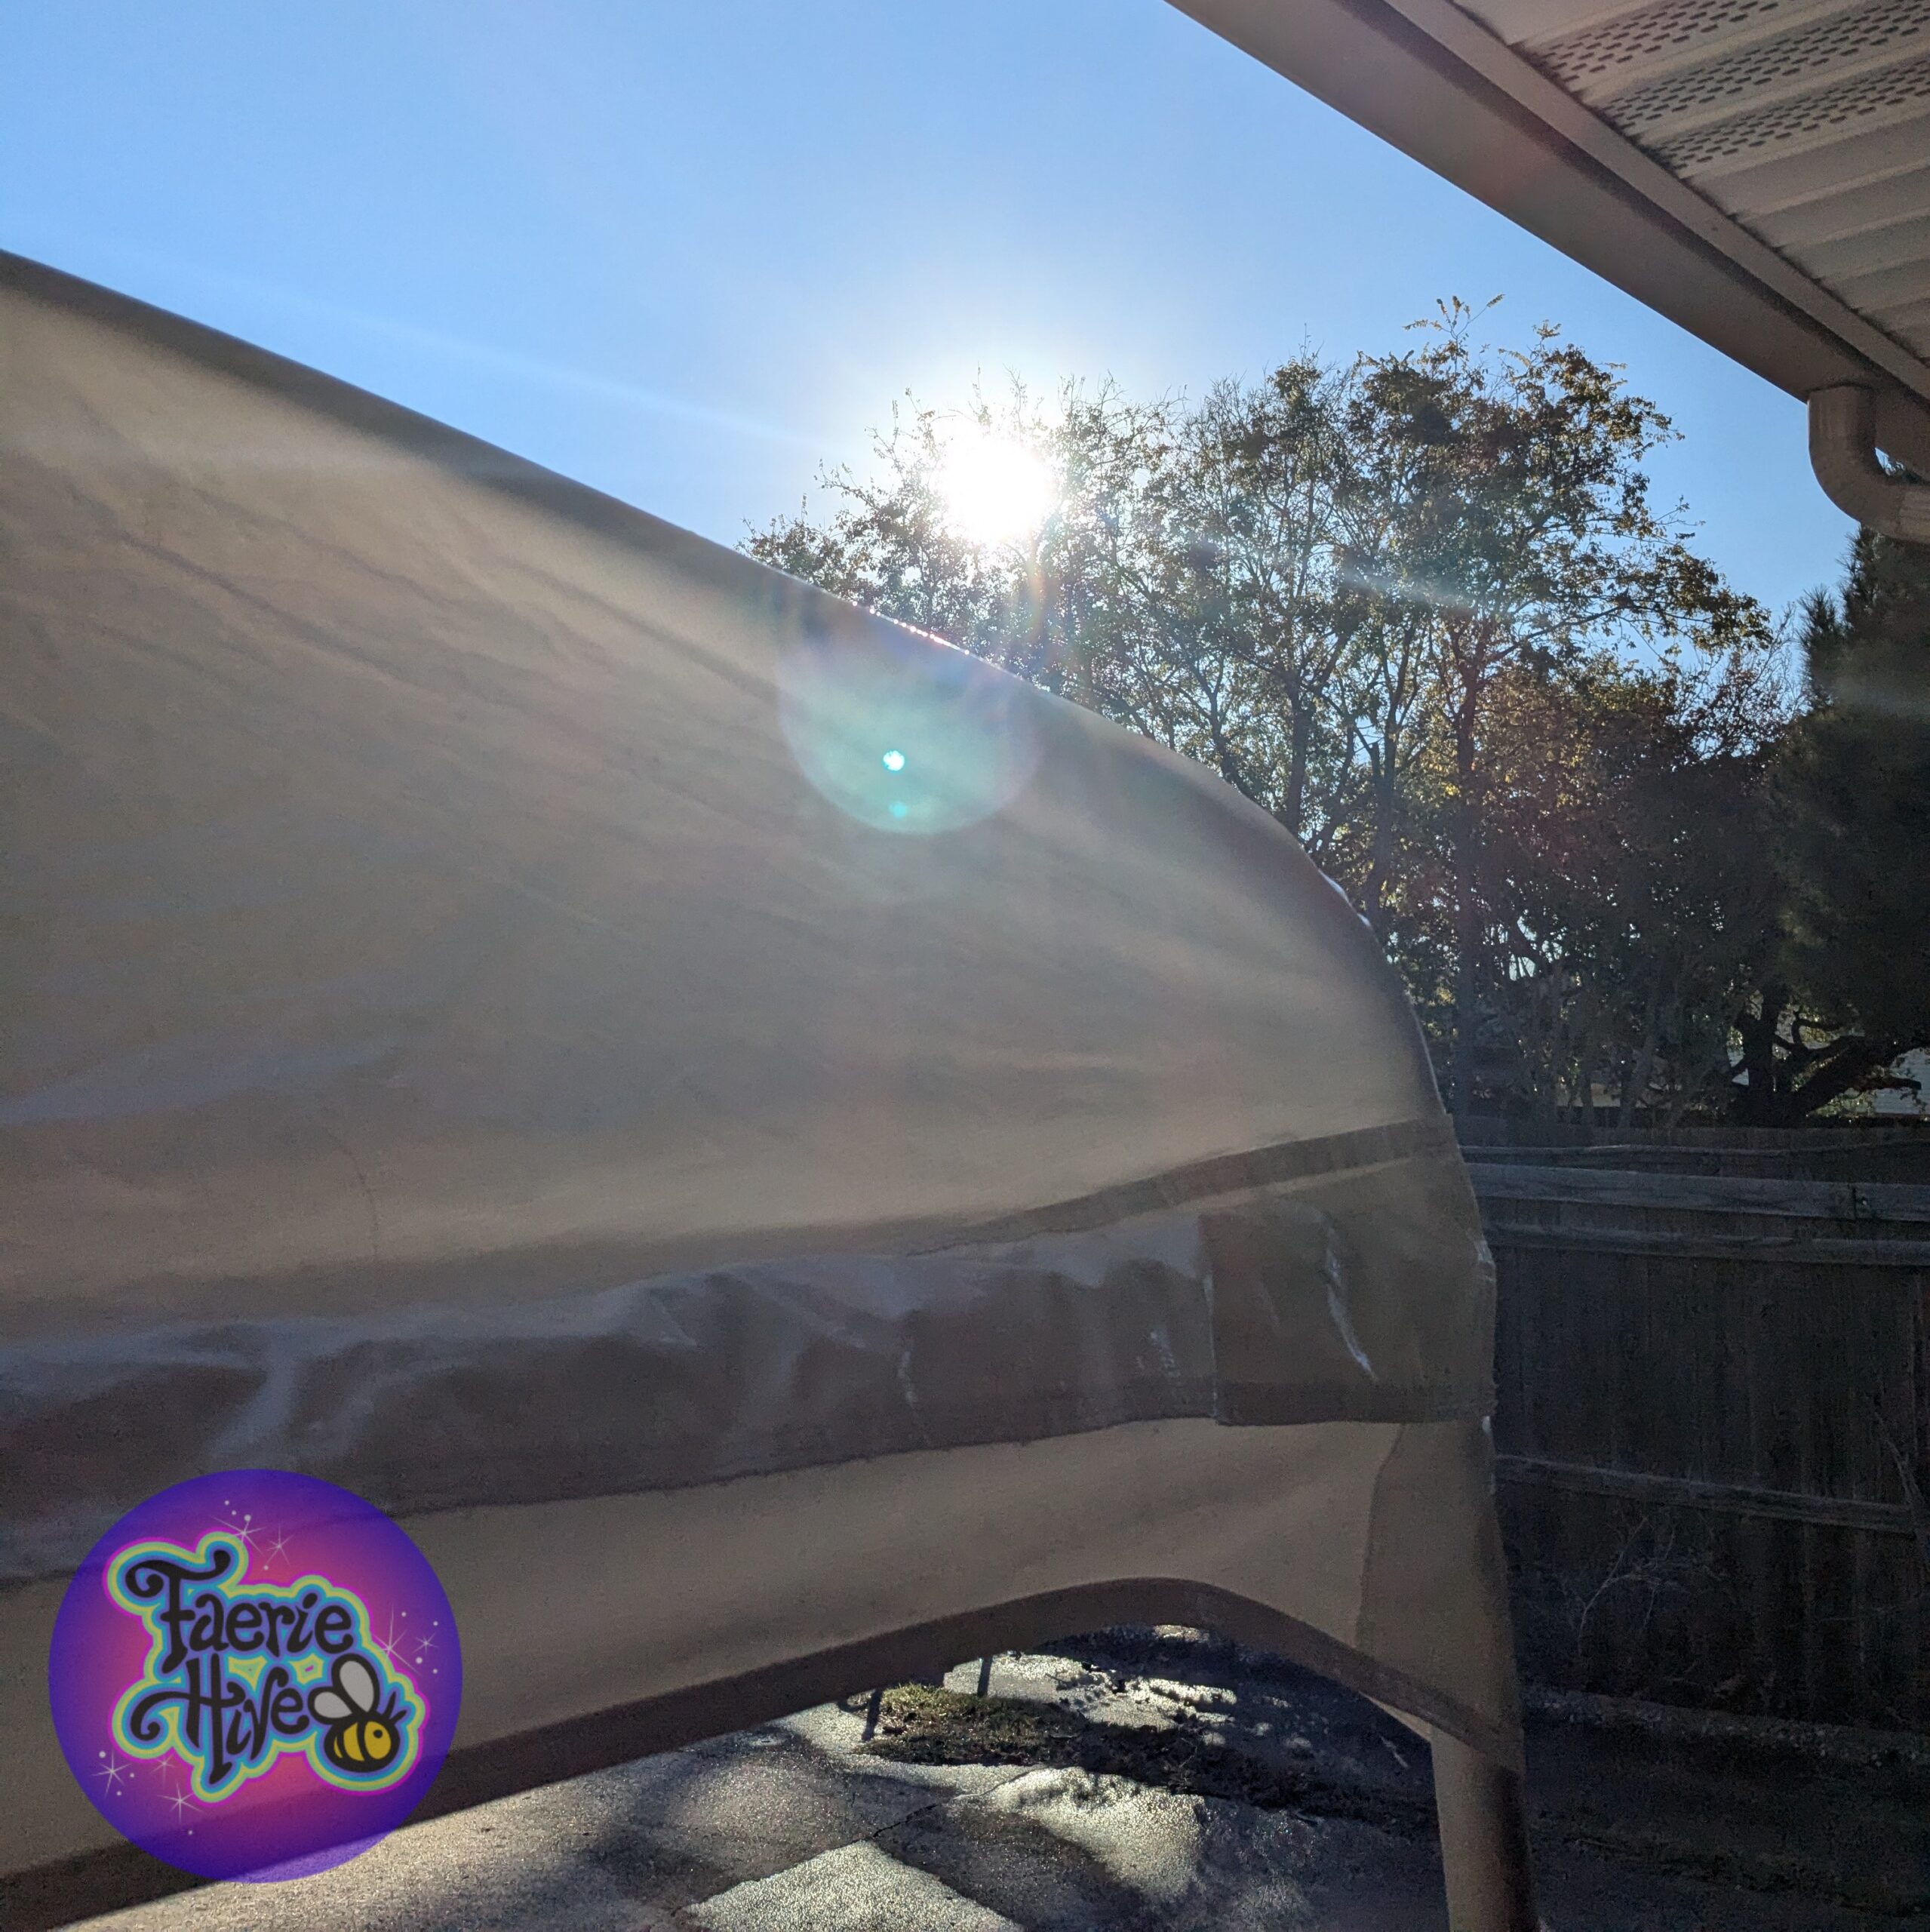
Today I washed my tent for the season. It was a nice day to sit back and think about all of the cool people I got to meet, interesting places I got to go, and great art I got to see!
If you’ve supported me this year, thank you. With you, I can make art I love and share it with many people.
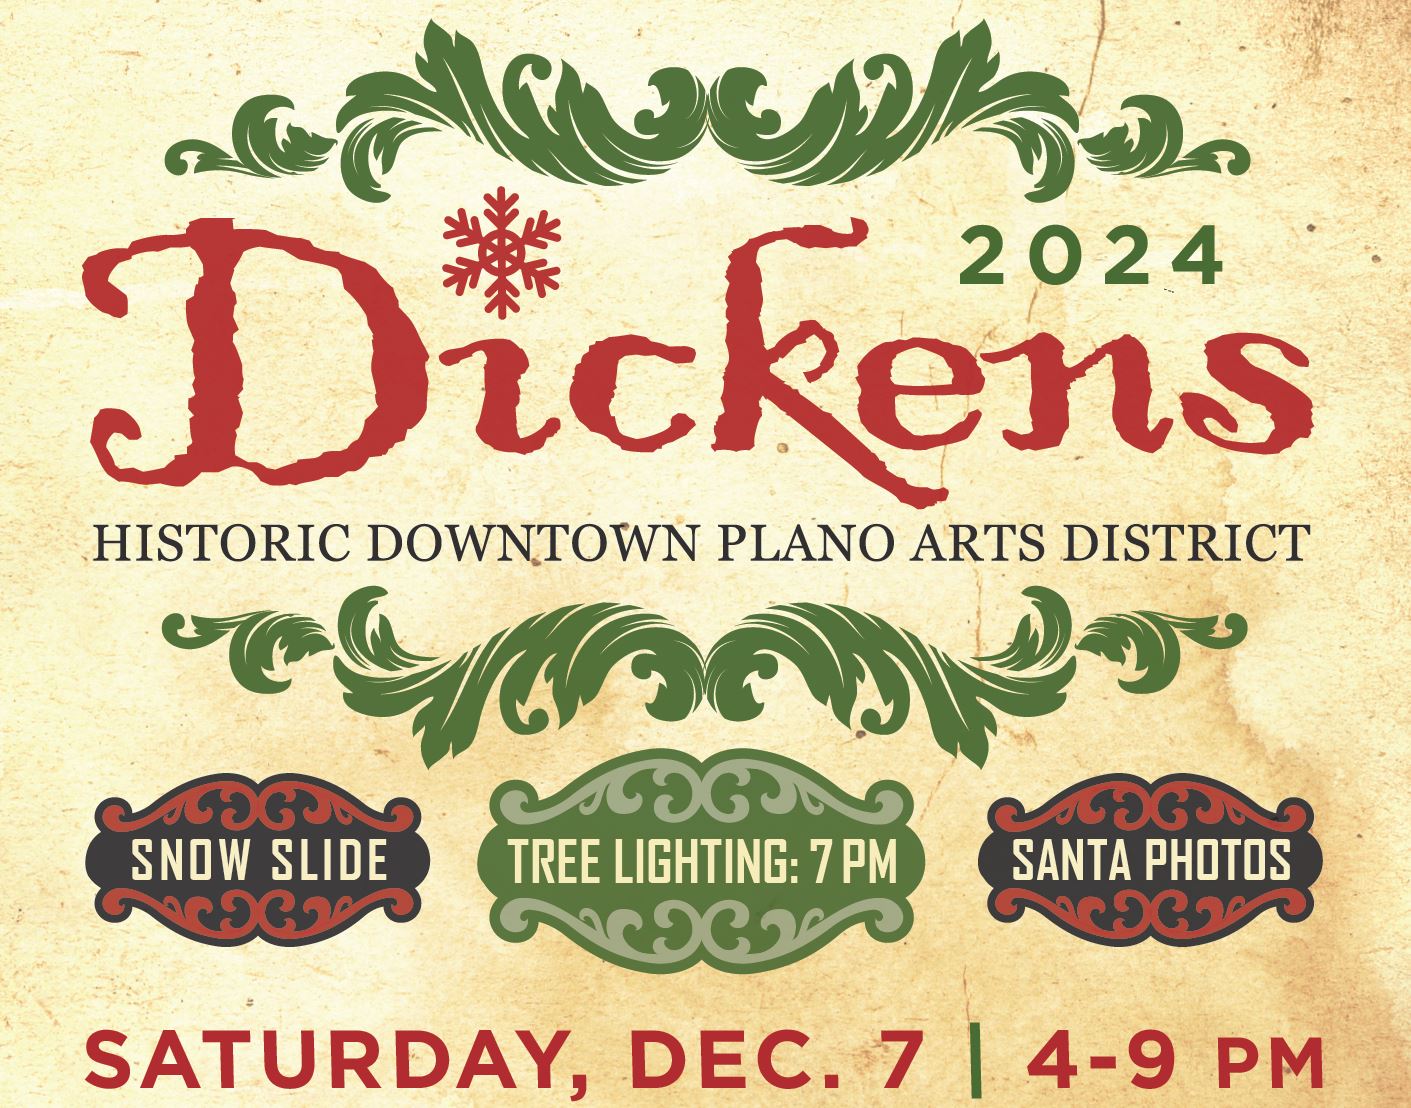
Watchoo! I’m over my Thanksgiving cold, and I’m ready for some Yuletide FUN! I love Dickens in Downtown Plano. I’m lucky to live in such a cool lil’ suburb of the Big D; I’ve been here for a few decades and the community is always wonderful. I’ll see you on Saturday, December 7th!
I’m out here at the Waxahachie Chautauqua for the Paranormal Symposium! From 10 until dusk, I hope to see you there!

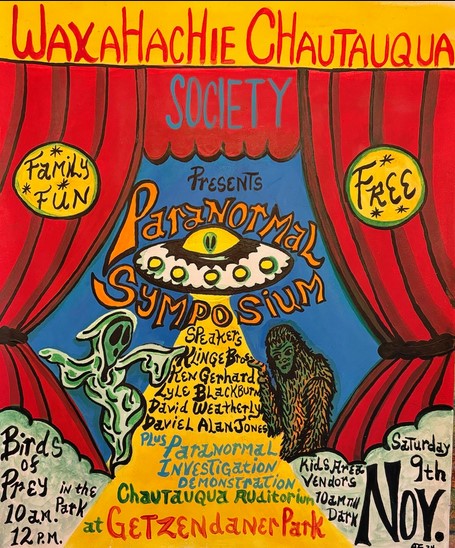
What’s going on this Saturday, you ask? Why it’s the Paranormal Symposium in Waxahachie presented by the Waxahachie Chautauqua! Lots of interesting speakers on the spoOOooKy that are all FREE to listen to at this awesome event. I’ll see y’all there!
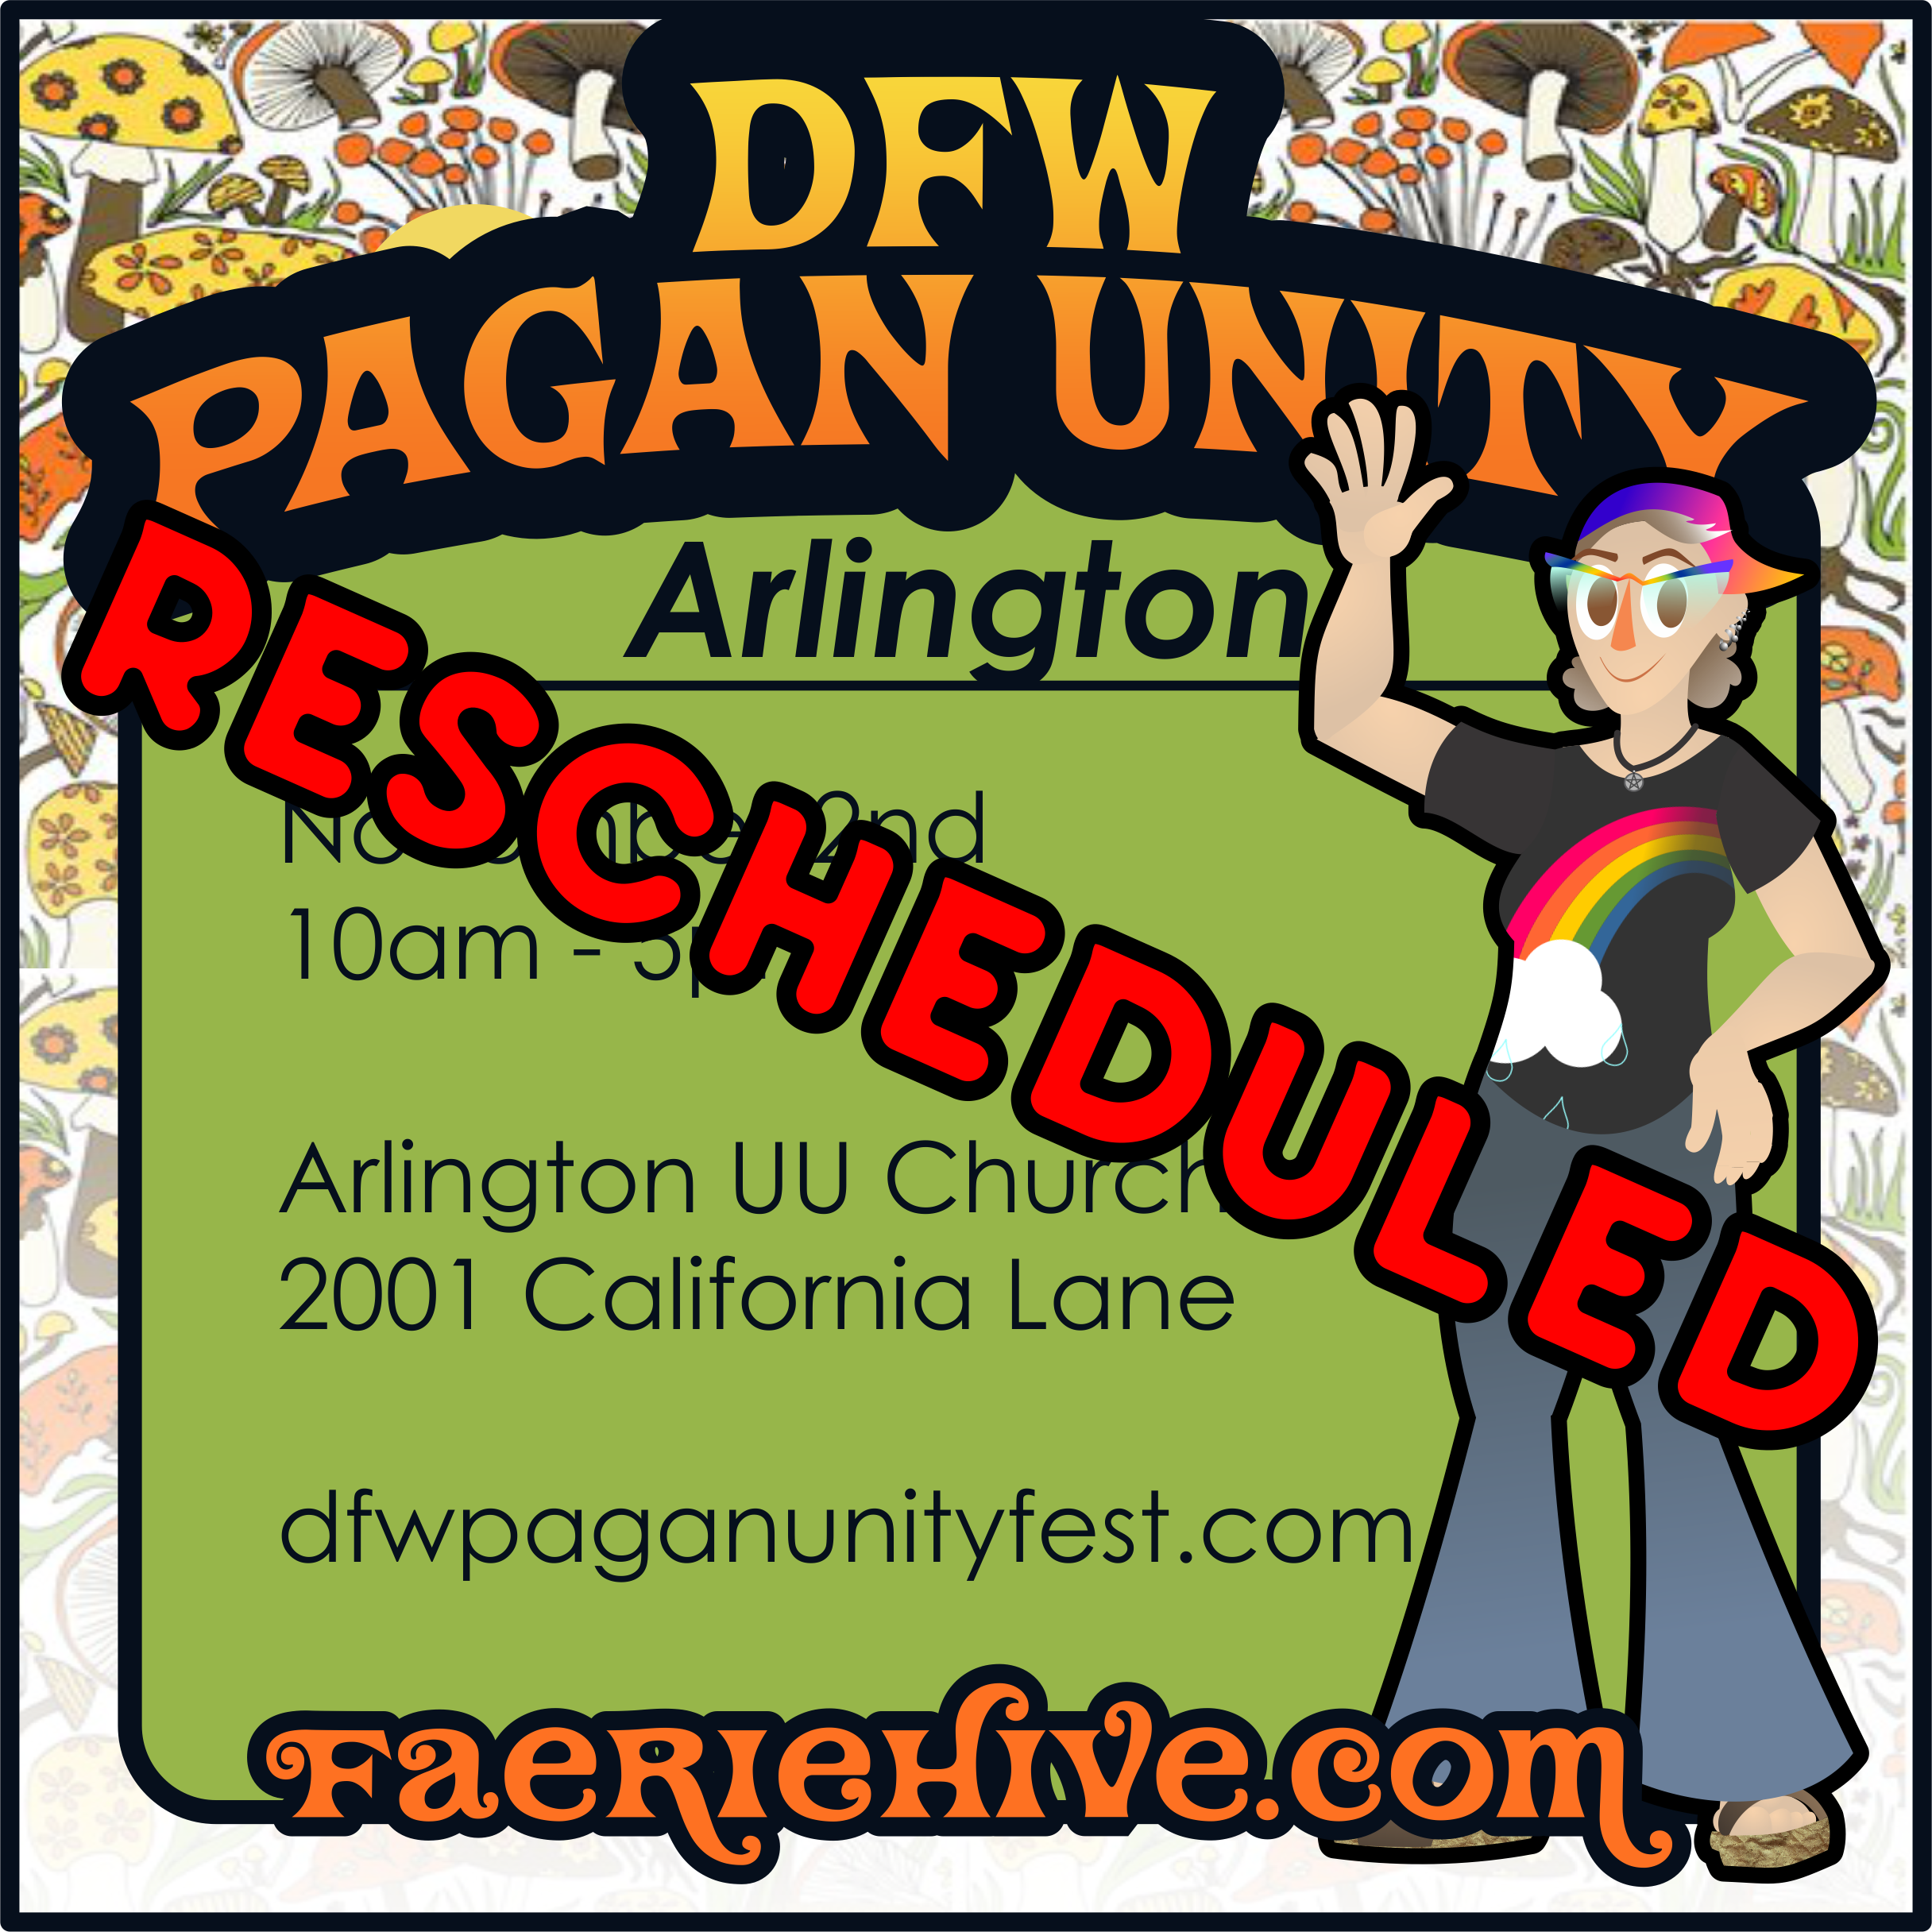
ALAS! The weather gods are threatening inclement weather this weekend, so DFW Pagan Unity has been rescheduled for November 16th. SUPER ALAS! I already have events scheduled for that time. So, I will not be at Pagan Unity this year; I have been rolled over to 2025. 😭 I’m gonna miss seeing everyone and enjoying the festivities! Be sure to check out http://dfwpaganunityfest.com/ for more information. I will see YOU in 2025 on November 8th!

 Holiday7 products
  The Hive Oracle11 products
  Magick Potion Bottles10 products
  Shrooms32 products
  Faerie Houses9 products
  Divination5 products
  Mugs & Cups12 products
  Plates2 products
  Hangings9 products
  Stickers19 products
  Paper Goods12 products
  Tableware21 products
  Canvas Paintings10 products
  Trinkets14 products
  Earth Spectrum9 products
  Fae Magick15 products
  Psychedelic Phorest18 products
  Star Swirl10 products
  Zines35 products
  21 and Up10 products


